

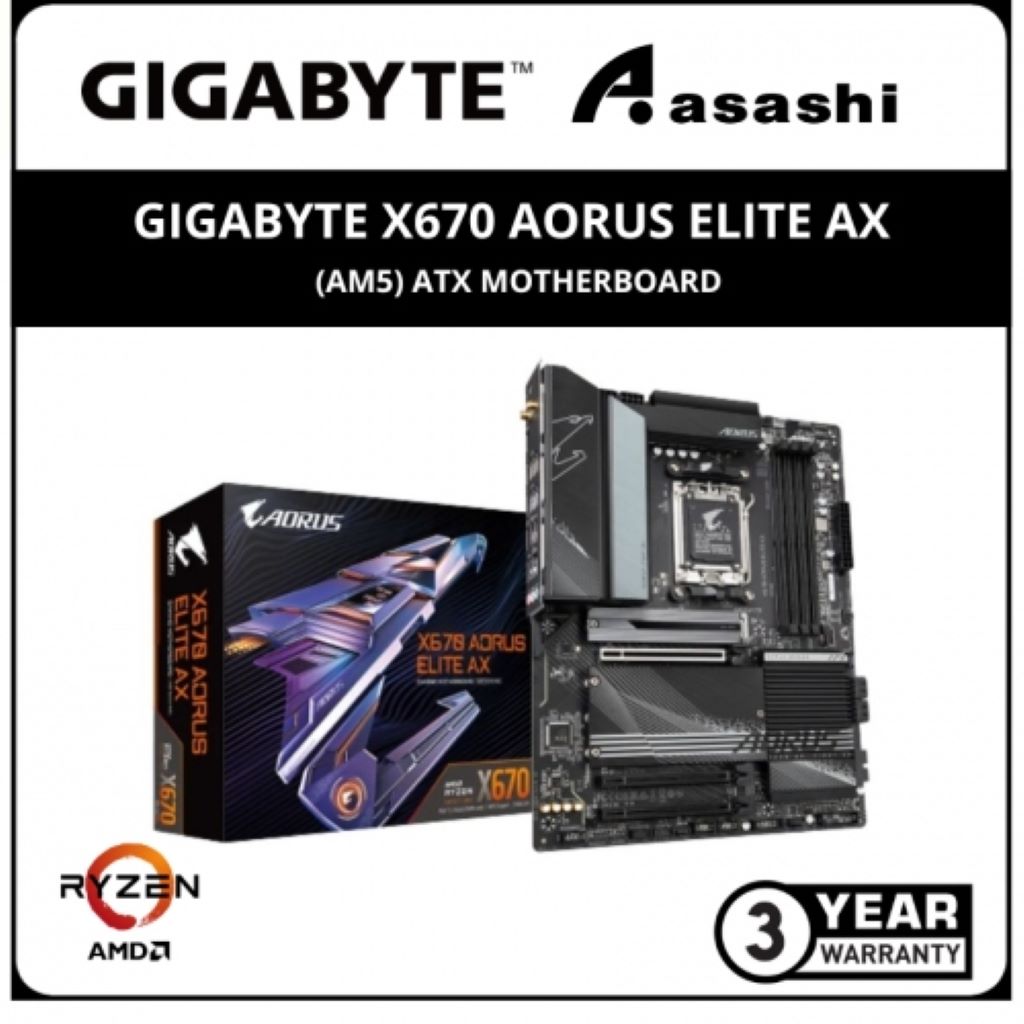
09 Dec How to Update X670 Aorus Elite Ax Bios
Building a new PC is exciting, especially when you’re using the latest AMD Ryzen 7000 series processors. The new Zen 4 chips are incredibly fast, and if you’re an early adopter of the AMD AM5 platform, you might have some questions about updating your motherboard BIOS. But don’t worry, I can help! I recently updated the BIOS on my own Aorus Elite Ax motherboard (document number 1) to install a new Ryzen 9 7900X processor, and the process was surprisingly smooth. In this guide, I’ll walk you through the steps I took to update the BIOS. Think of me as your AMD AM5 spirit guide, helping you on your path to Zen 4 enlightenment!
Why Even Care About BIOS Updates Anyway?
Before we dig into the nitty gritty update process, you might be wondering why you need to update your motherboard BIOS in the first place. After all, can’t you just slap that sucker in the case, connect the power supply, and be good to go?
Well, my impatient friend, it’s not quite that simple with a bleeding-edge platform like AM5. The BIOS is like the operating system for your motherboard. It’s the underlying software that allows all the hardware (including the CPU) to communicate properly.
When a new CPU architecture like Zen 4 comes along, the BIOS needs special updates to recognize the processor and let it run at peak performance. Otherwise, it would be like trying to run a race car with the parking brake on!
So while updating the BIOS might sound boring (believe me, I’d rather be gaming too), it’s an essential step to unleash the true power of your new AMD Ryzen system.
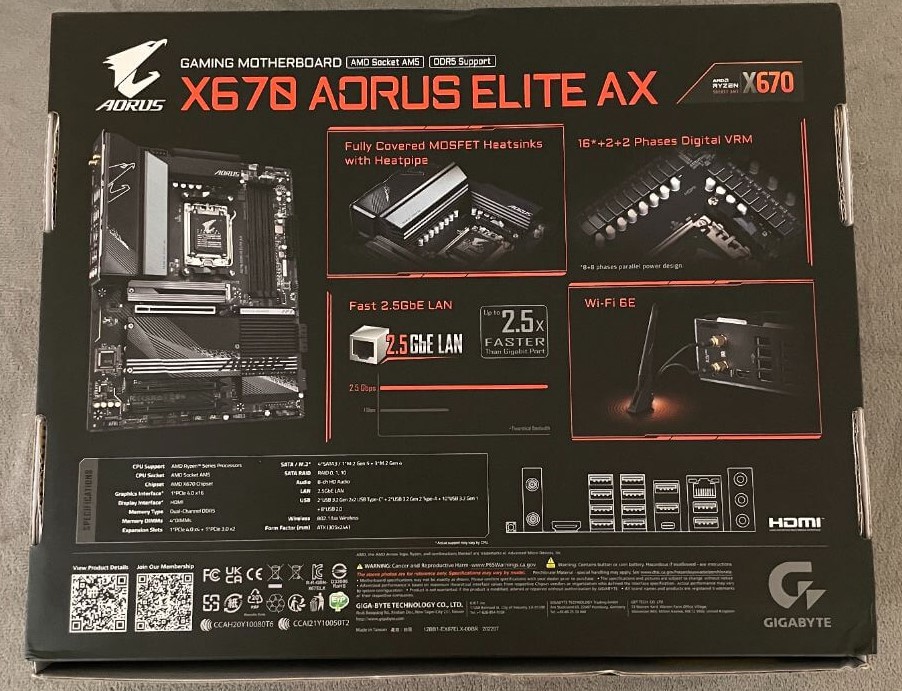
Breaking Down Motherboard Model Numbers
Now before we get our hands dirty with the actual BIOS update, let me quickly decode what the heck X670 Aorus Elite Ax even means. I know motherboard model numbers are confusing. Heck, they almost seem like random collections of letters and numbers!
But stick with me for a sec while I break it down:
X670 – This refers to the AMD chipset. For the AM5 platform, the X670 chipset offers the most cutting edge features like PCIe Gen 5.0 support.
Aorus – This is Gigabyte’s gaming focused brand. Aorus boards are designed for high performance and overclocking.
Elite – This indicates it’s a mid-range model in Aorus’ lineup – more affordable than the flagship offerings but still packed with great features.
Ax – The Ax means it has WiFi 6E and Bluetooth 5.2 built right into the motherboard! No messing with adapters required.
There are other variants too like the X670E Aorus Master or B650 Aorus Pro. But hopefully you get the idea! Now onto the good stuff…
Preparing for Battle (I Mean, Our BIOS Update)
Updating the BIOS isn’t extremely complicated, but it does require some pre-battle preparation. Make sure you’ve completed these steps before charging bravely onwards:
1. Backup Important Data
Like any software update, a BIOS update comes with a small risk of something going wrong. I don’t say this to scare you! Problems are extremely rare. But it’s wise to be cautious just in case.
So make sure you’ve backed up any important data before updating. You don’t want to accidentally lose your game saves or those photos from your Costa Rica vacation you still haven’t uploaded to Facebook to make your friends jealous.
2. Have the Latest BIOS File Downloaded
You’ll need to download the new BIOS file ahead of time from the Gigabyte website. This allows you to update without an internet connection which minimizes the risk of disruption.
Visit Gigabyte’s X670 Aorus Elite Ax support page and grab the latest BIOS revision. It will be a file ending in .Fxx where xx is the revision number. Save it somewhere easy like your desktop or downloads folder.
3. Connect Monitor and Keyboard
You’ll need to interact with the BIOS menus during the update process, so make sure your monitor and USB keyboard are hooked up to the computer.
Trying to blindly update the BIOS is like trying to assemble Ikea furniture with your eyes closed – possible, but not recommended unless you want some unexpected results!
So plug in an external display via HDMI or DisplayPort along with a simple wired keyboard. Now you’ve got everything you need to take control.
Installing the BIOS Like a Pro
Alright, no more messing around. Let’s dive headfirst into this BIOS update! Just follow these steps carefully from start to finish and you’ll nail it.
1. Get Into the BIOS
Restart your computer and start mashing the Del key on your keyboard to enter the BIOS. The brief window to access it is right after you see the Gigabyte splash screen but before Windows starts loading.
Entering the BIOS is kind of like arriving at a secret club. You hurriedly knock on the door (mashing Del) hoping they let you in to access all the cool settings before it disappears!
Once inside, you’ll see the main BIOS menu. Don’t let all the settings intimidate you! For the purposes of updating, we just need to find one specific menu…
2. Navigate to Q-Flash
The BIOS interface can definitely be confusing at first glance. But thankfully Gigabyte organizes options into clear categories along the top.
Look for the Settings category and select it with your keyboard arrows. Next choose the Q-Flash menu option. This is the built-in BIOS flashing utility we’ll use to update with our downloaded BIOS file.
Pro Tip: If you have a mouse connected, you can directly click on menus which is much faster than arrowing around. So plug one in if it’s handy!
3. Select BIOS Update File
Alright, now this is the moment of truth! In the Q-Flash menu, use your keyboard or mouse to select the Choose File button.
This will bring up a file explorer. Navigate to and select that BIOS file you downloaded earlier. Double check you picked the right one!
Once selected, hit Enter on the keyboard to begin the flashing process. Then take a deep breath…
4. Let It Do Its Thing
Flashing the BIOS only takes a few minutes, but it will feel like an eternity! The system will reboot itself a few times as the flashing utility does its work.
Watching the BIOS update is like spectating a tennis match. The process volleys back and forth between various screens and automatic reboots. Just sit back and let it go through return after return.
Eventually you should reach 100% status. Congrats buddy! No need to head to the locker room just yet though…
5. Load Optimized Defaults
With the update complete, you’ll likely be back at the main BIOS menu screen. Before properly exiting, reset all BIOS settings to defaults by selecting the Restore Defaults option.
This clears any remnants of older settings that could cause conflicts. Think of it like packing for a trip. You want to refold your clothes neatly rather than just stuffing them back in your suitcase!
Once defaults are loaded, save changes and reboot. The system will turn on normally and should automatically load the updated BIOS version!
FAQs
Q: Do I need to update my BIOS?
A: If you’re installing a new CPU like an AMD Ryzen 7000 processor, yes! The BIOS requires specific support for new architectures. Updates add that compatibility.
Q: Can a bad BIOS update brick my motherboard?
A: It is extremely unlikely, but there is a small risk with any BIOS update. That’s why it’s import to never lose power during the update! As long as precautions are taken, you should be fine.
Q: How can I check my current BIOS version?
A: In Windows, download the free Gigabyte System Information Viewer utility. It will detect and display your motherboard model and current BIOS version!
Q: Should I update to the latest BIOS or just the minimum required?
A: It’s generally wise to update to the newest BIOS revision available for your board for maximum stability and performance. New versions often also patch previous issues.
Q: Can I recover if a BIOS update fails or bricks the board?
A: Yes! Gigabyte motherboards have dual BIOS chips. You can recover by flipping a physical switch on the board itself to load the backup BIOS to try again.
Final Words
We have successfully updated the motherboard BIOS. When updating the BIOS for the first time, it may feel like a daunting task. Even I felt nervous at first! But in reality, downloading the latest BIOS file, accessing the Q-Flash menus, loading the file, and letting the system work its magic. Once the process is complete, you can be confident that your AMD AM5 motherboard, whether it’s the ASUS PRIME B550-PLUS or the ASUS ROG STRIX B550-F, is ready to support the latest technologies like PCIe Gen 5.0 and next-gen Ryzen 7000 Series CPUs! So, if you want to flex your early adopter muscles, don’t be afraid of BIOS flashing. Just follow this guide, and remember that I’m here with you in spirit, navigating the tricky waters of a new platform launch. Good luck, my friend, and let’s get back to gaming!
No Comments