
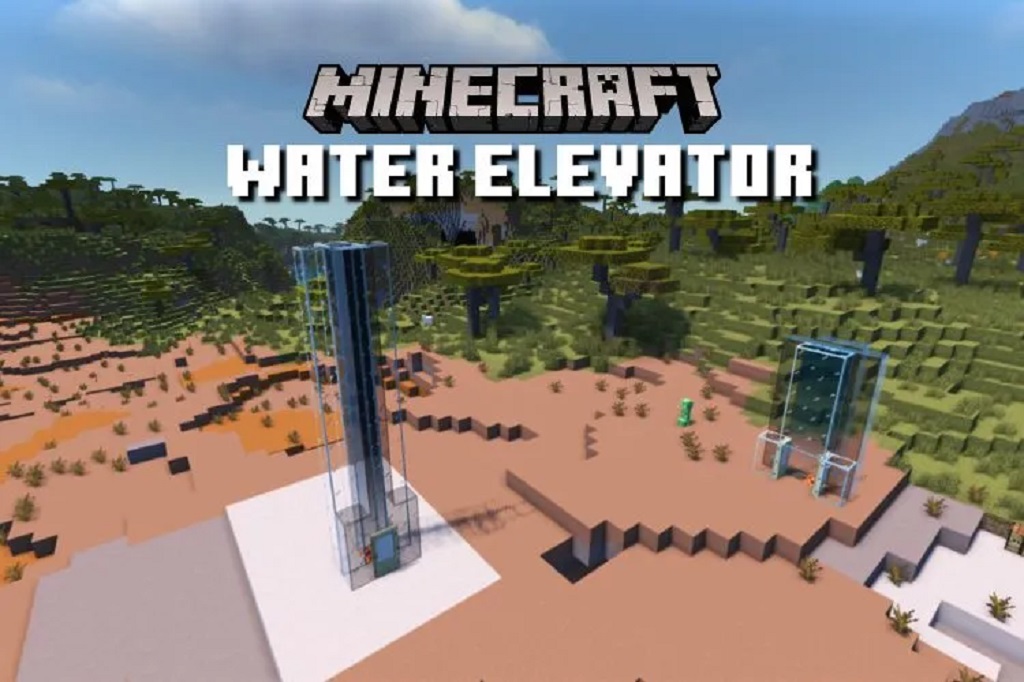
29 Jan How to Create a Water Elevator in Minecraft: Ultimate Guide
To make a water elevator in Minecraft, place water source blocks in a column and use signs to create air pockets for the player to ride. Looking to create a water elevator in Minecraft?
You can easily transport yourself vertically in the game with just a few simple steps. By placing water source blocks in a column, you can create a flow of water that allows you to ascend or descend. Use signs to create air pockets preventing water from flowing through to ensure you stay dry.
This helpful feature can be a game-changer, whether you’re exploring underground caves or building towering structures. So, read on to learn how to make a water elevator and add this convenient transportation method to your Minecraft skills.
Gathering Resources

Gathering resources is a fundamental aspect of constructing a water elevator in Minecraft, as highlighted in various tech magazines. This process involves mining for materials and farming for resources, ensuring that you have all the necessary components for your project. This section aims to guide you through the material and resource-gathering process, equipping you with the knowledge needed to seamlessly transition into the building phase of your water elevator. With this preparation, you’ll be well-equipped to start constructing this useful and efficient in-game structure.
Mining For Materials
Mining for materials is the first step in gathering resources for your water elevator. Here’s a list of essential materials you’ll need along with where to find them:
| Material | Location |
| Cobblestone | Underground, in caves or mineshafts |
| Glass | Smelt sand in the furnace |
| Buckets | Craft using iron ingots |
Make sure to bring a pickaxe while mining, as it is necessary to gather these materials. Once you have collected enough cobblestone, glass, and buckets, you can proceed to the next step of farming for resources.
Farming For Resources
Farming for resources is the second step in gathering the necessary materials for your water elevator. Here are the resources you’ll need and how to obtain them:
- Water: Locate a water source nearby or create an infinite water source by placing water in the corner of a 2×2 square.
- Sugar Cane: Plant sugar cane near water and wait for it to grow. Harvest it with a (non-silk touch) axe to obtain sugar cane.
- Iron: Obtain iron by mining iron ore, which is found underground. Smelt the iron ore in a furnace to obtain iron ingots.
With these resources in hand, you are now ready to start building your water elevator. The next section will guide you through the construction process, so you can enjoy the convenience of traveling vertically with ease!
Understanding Water Elevator Mechanics
Discover the mechanics of creating a water elevator in Minecraft, a process as intriguing as learning how to make a fence in the game. This guide will teach you to utilize water source blocks and soul sand to construct an efficient water elevator system. By mastering the principles of water elevator mechanics, you can easily travel between different levels in your Minecraft world, much like how mastering fence building enhances your gameplay experience. This knowledge will not only improve your in-game transportation but also add a creative and functional element to your Minecraft creations.
Water elevators are a useful and powerful tool in Minecraft that allows players to quickly and efficiently move between different levels or floors in their builds. They are simple to construct but require a solid understanding of the game’s water physics and basic redstone mechanisms. In this section, we will dive into the intricacies of water elevator mechanics and guide you through the process of creating your very own water elevator.
Water Physics In Minecraft
Minecraft has a unique set of water physics that players must comprehend to successfully build functioning water elevators. When water is placed, it flows downwards and spreads to adjacent blocks, creating a source block. These source blocks can be used as elevators by creating a column of water blocks with a gap in the middle for the player to occupy. It’s important to note that water source blocks can only be created at the same level or below an existing source block.
Glass blocks are often used for water elevators as they prevent water from freezing and offer visibility while traveling through the elevator. Another essential aspect to consider is the water source at the bottom of your elevator. This source should never be removed, as it guarantees the continuous flow of water necessary for vertical transport.
Redstone Basics
Redstone is a key component in creating functional water elevators. Redstone circuits can be used to control the flow of water and allow easy access to different floors. To begin, you’ll need a redstone torch or a redstone block. By placing it adjacent to a source block at the bottom of your elevator, you can create a current that will power the elevator.
It’s also worth mentioning that trapdoors can be used to prevent water from flowing out of the elevator shaft when entering or exiting. By activating the trapdoor, players can pass through without interrupting the water flow. This is achieved by linking the trapdoor to a redstone circuit, ensuring a smooth and seamless user experience.
Building The Water Elevator
Building the water elevator in Minecraft can enhance your gameplay experience by providing a convenient and efficient means of moving from one level of your structure to another. To achieve this, you will need to carefully plan the design and create water sources to make the elevator functional. In this guide, we will walk you through the process of building a water elevator in Minecraft, focusing on the key steps involved in planning the structure and creating water sources.
Planning The Structure
Before you begin constructing your water elevator, it’s essential to plan the layout and determine the location of the elevator shaft. Consider factors such as the height of the elevator, the space available, and the overall design of your building. This will help you create a well-organized and aesthetically pleasing water elevator.
Creating Water Sources
Start by gathering the necessary materials, including buckets of water, signs, and building blocks. Place water source blocks at the bottom of the elevator shaft and at each level where you want to stop. This ensures that the water flows smoothly along the entire length of the elevator, allowing for seamless transportation. Additionally, use signs to contain the water within the elevator shaft and prevent it from spilling into other areas of your structure.
Adding Redstone Elements

Adding redstone elements to your water elevator in Minecraft can offer an extra level of functionality and automation. Redstone is a key ingredient for creating intricate mechanisms in the game, and incorporating it into your elevator can make it easier and more fun to use. In this section, we will discuss the different redstone power sources you can utilize and how to activate the elevator using these mechanisms.
Redstone Power Sources
Redstone power sources are essential for making your water elevator work. Here are a few reliable power sources you can consider using:
- Redstone Torches: Redstone torches provide a continuous source of power. They can be placed on blocks next to or underneath your elevator to power the redstone circuitry that controls its movement.
- Redstone Blocks: These blocks emit a constant signal of power but require a redstone signal to turn off. Using redstone blocks can simplify your elevator’s design, as you can connect it directly to the rest of your circuitry.
- Buttons: Buttons can be placed on the walls or floor surrounding your elevator to activate it. When pressed, they provide a short burst of power, making them ideal for triggering temporary movements.
- Pressure Plates: Similar to buttons, pressure plates can be used to activate your elevator. When stepped on, they send a brief pulse of power, which can be useful for activating and deactivating the elevator as needed.
Activating The Elevator
Once you have chosen your preferred redstone power source, it’s time to connect it to your elevator and activate it. Here’s a simple step-by-step process:
- Position the Power Source: Decide where you want to place your redstone power source in the elevator.
- Connect the Redstone: Use redstone dust or redstone repeaters to create a circuit that connects the power source to the elevator.
- Test the Activation: Trigger the power source, whether it’s a redstone torch, button, or pressure plate, to see if it activates the elevator correctly.
- Adjustment and Iteration: If needed, fine-tune your redstone circuitry and power source placement to ensure smooth and reliable elevator activation.
Adding redstone elements to your water elevator can transform it into a more interactive and dynamic feature in your Minecraft world. With various power sources to choose from and the ability to activate your elevator through redstone mechanisms, you can create a truly immersive experience for yourself and others playing the game. Get creative and have fun experimenting with different redstone setups to make your water elevator even more exciting!
Adding Finishing Touches
Learn how to add the finishing touches to your Minecraft water elevator with these simple steps. Elevate your gameplay and create a unique experience in the game.
Decorating The Elevator
Now that you have successfully built your water elevator in Minecraft, it’s time to add some finishing touches to make it visually appealing. Decorating the elevator will not only make it look nicer but also help you easily identify it among other structures in your world.
Here are some creative ideas to decorate your water elevator:
- Add banners or signs with your name or a unique design to personalize it.
- Place flower pots with colorful flowers or plants on each floor to add a touch of nature.
- Use different colors of wool or stained glass blocks to create patterns or designs on the walls.
- Place paintings or item frames with pictures on the walls to create a gallery-like feel.
- Use glowstone or sea lanterns as light sources to make your elevator well-lit and inviting.
- Add carpets or rugs on the floors to add a cozy feel.
| Decoration Item | Materials Required |
| Banner | 6 wool + 1 stick |
| Flower Pot | 3 clay |
| Stained Glass Block | 8 glass blocks + 1 dye |
| Painting | 8 sticks + 1 wool |
| Item Frame | 1 leather + 8 sticks |
| Glowstone | 4 glowstone dust |
| Sea Lantern | 4 prismarine shards + 5 prismarine crystals |
| Carpet | 2 wool |
Testing And Troubleshooting
Before your water elevator project is complete, it is essential to test it thoroughly and troubleshoot any issues that may arise. Here are some steps to follow:
- By testing the water source blocks, ensure that water flows smoothly in both directions within the elevator.
- Check that the signs or slabs are correctly placed to prevent water from spilling to adjacent blocks.
- Ensure the water stream is strong enough to propel you upward or downward without any delay.
- Verify that all the signs are placed correctly and no block prevents the water from flowing.
- If the elevator is not working as expected, try breaking and replacing the signs or water source blocks to fix any potential blockage or flow issues.
- Check online tutorials or forums for additional troubleshooting tips specific to your Minecraft version or mods.
Remember that testing and troubleshooting are essential to ensure a smooth and functional water elevator experience. Once you have addressed any issues, your water elevator will be ready to transport you effortlessly through your Minecraft world!
Frequently Asked Questions On How To Make A Water Elevator In Minecraft
How Do You Build A Water Elevator In Minecraft?
To build a water elevator in Minecraft, start digging a two-by-two hole at least six blocks deep. Place sign blocks on each side of the hole and fill it with water. Add signs at regular intervals to create a vertical tube of water.
By swimming up through the water, you can easily reach higher levels of your Minecraft world.
Can Water Elevators Be Used For Transporting Items In Minecraft?
Yes, water elevators can be used for transporting items in Minecraft. You can create a system that automatically moves items up or down the elevator by using hopper minecarts or water streams. This is a convenient way to transport items between different levels of your Minecraft builds.
How Do You Make A Bubble Elevator In Minecraft?
To make a bubble elevator in Minecraft, start by creating a two-by-two hole at least six blocks deep. Place soul sand at the bottom of the hole and fill it with water. When bubbles rise, they carry players or mobs upwards.
This creates a bubble elevator that allows you to move between different levels of your Minecraft world easily.
What Is The Purpose Of Water Elevators In Minecraft?
The purpose of water elevators in Minecraft is to provide a convenient way to travel vertically between different levels of your Minecraft builds. They save time and effort compared to building traditional staircases or ladders. Water elevators are especially useful when you have multiple floors or different areas that need to be connected.
Conclusion
Creating a water elevator in Minecraft is an exciting way to navigate your world. With this structure, you can travel between different levels quickly and efficiently. Following the steps outlined in this guide, you can enhance your gameplay experience and impress your friends with your engineering skills. Enhance your Minecraft experience by swiftly acquiring a bow and arrow to bolster your arsenal—master the art of fast acquisition! Elevate your Minecraft adventures with your water elevator, seamlessly navigating the pixelated realms with newfound speed and precision.
No Comments